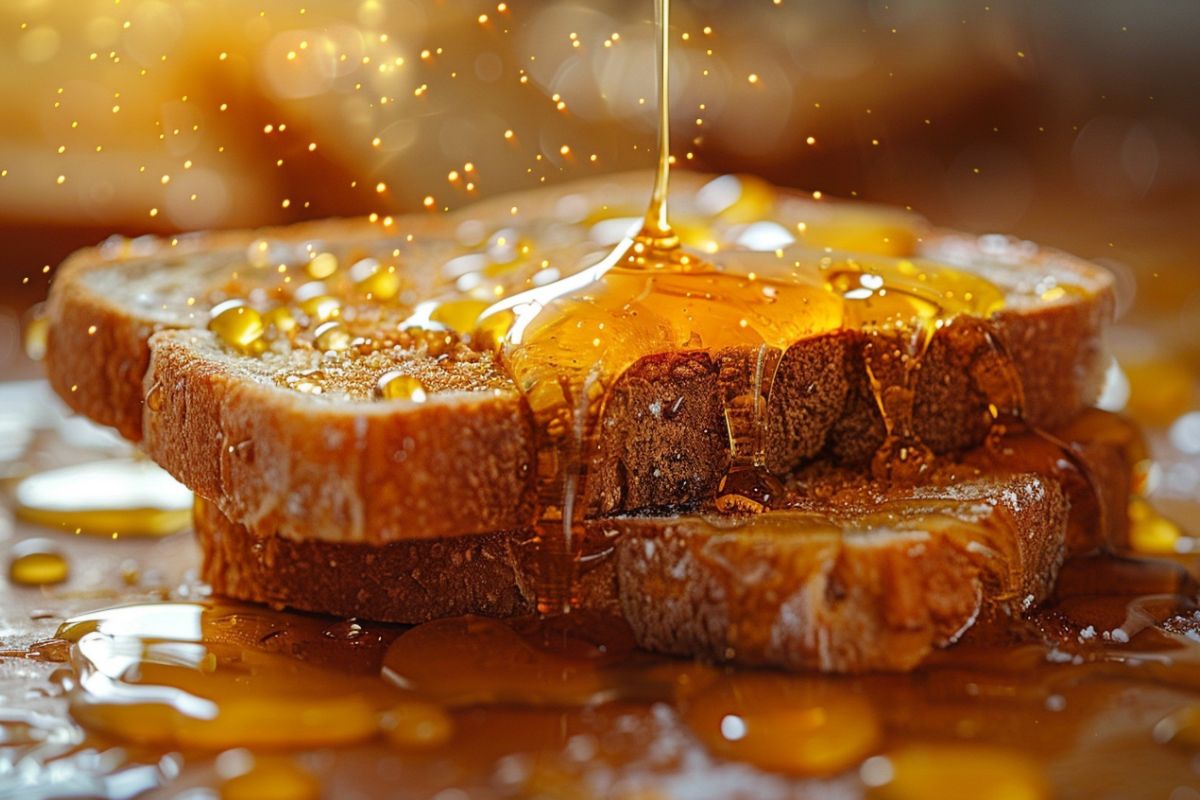
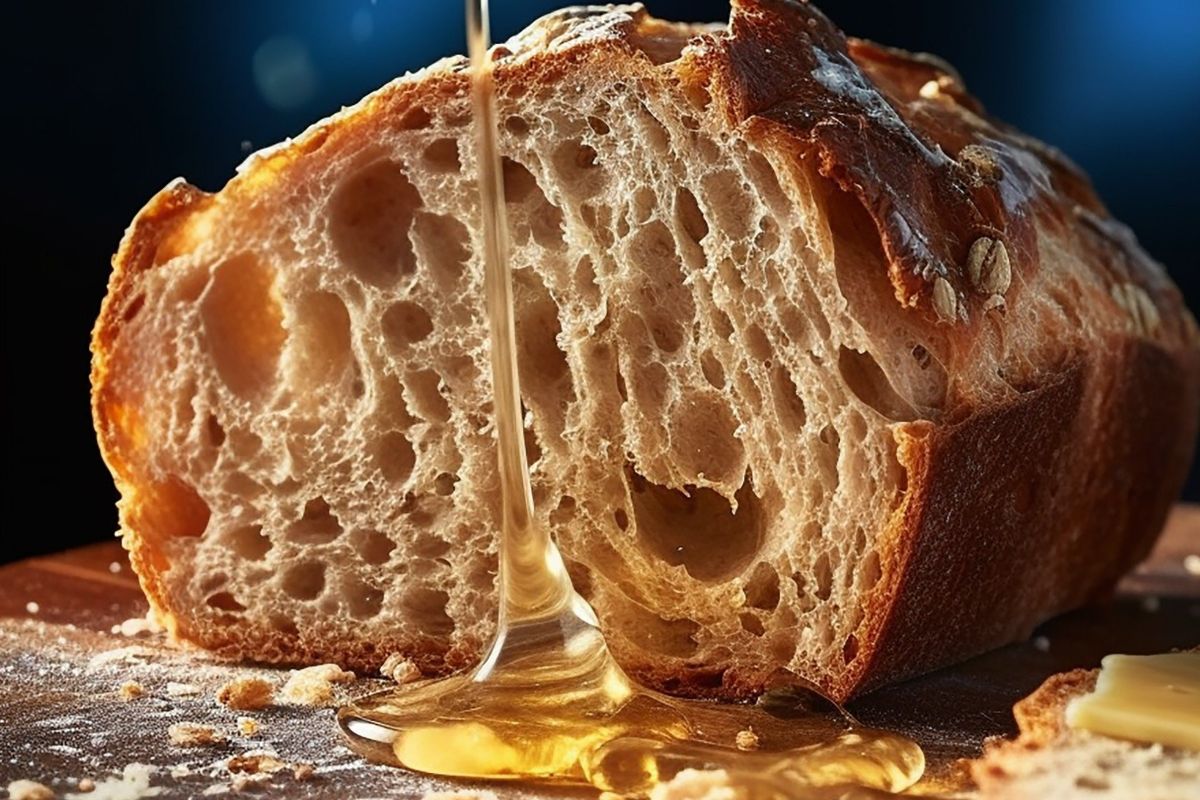
Honey Bread RecipeHoney bread is a timeless classic that combines the subtle sweetness of honey with the soft texture of freshly baked bread. This Soft Honey Bread Recipe is perfect for beginners and seasoned bakers alike. Whether you’re making honey bread to serve alongside breakfast, use for sandwiches, or enjoy on its own, this guide will walk you through each step in creating the perfect loaf.
Honey bread is not just delicious; it’s versatile and easy to make. With the right ingredients and techniques, you’ll be enjoying homemade bread that is flavorful, moist, and perfect for any occasion. Honey, as a natural sweetener, helps retain moisture and adds a golden hue to the bread, making it stand out from regular loaves.
If you’re interested in pairing your honey bread with something savory, consider trying this chicken pot pie with crescent rolls for a comforting meal combination.
 Why Honey Bread?
Honey has been used in baking for centuries, not just for its sweetness but for its ability to retain moisture and add a subtle flavor. Honey bread is softer and more flavorful than bread made with sugar. The natural properties of honey also contribute to the golden-brown crust that makes this bread so visually appealing.
When yeast is introduced to honey and warm water, it begins to consume the sugars, releasing carbon dioxide, which makes the dough rise. The combination of bread flour and honey gives the bread a perfect balance between chewiness and sweetness. If you’re looking for another baking inspiration, check out this guide on mini apple pies for a perfect dessert pairing.
Key Ingredients for Honey Bread
Before we dive into Honey Bread Recipe, let’s go over the essential ingredients that make honey bread so special.
1. Flour
Bread flour is ideal for this recipe because of its high protein content, which develops more gluten. Gluten is essential for giving bread its structure and chewy texture. If you prefer a softer crumb, you can mix bread flour with all-purpose flour.
2. Honey
The star ingredient, honey, not only sweetens the bread but also keeps it moist. Honey is a natural humectant, which means it helps the bread stay fresh for longer. It also contributes to the golden-brown color of the crust.
3. Yeast
We use active dry yeast for this recipe. Proofing the yeast (mixing it with warm water and honey) ensures that it is alive and ready to leaven the dough. If the yeast doesn’t bubble during proofing, it may be inactive, and the bread won’t rise.
4. Butter
Melted butter adds richness and helps create a tender crumb. In this recipe, the butter is mixed into the dough to enhance flavor and texture.
5. Egg
Eggs give the bread a rich flavor and help with its structure. The yolk adds richness, while the whites bind the dough, ensuring a fluffy loaf.
6. Salt
Salt is essential in bread-making because it enhances the flavor and helps control yeast fermentation. Without salt, bread would taste flat, and the yeast could ferment too quickly, leading to a poor rise.
7. Warm Water
Water temperature is crucial when working with yeast. The ideal temperature for activating yeast is between 100-110°F. Too hot, and the yeast will die; too cold, and it won’t activate properly.
The Science of Bread-Making
Understanding the science behind bread-making can help you improve your baking skills and get better results every time. Here are the key scientific processes involved in making honey bread:
Yeast Activation
Yeast is a living organism that feeds on sugar. When mixed with warm water and honey, yeast starts to ferment, producing carbon dioxide, which gets trapped in the dough by the gluten. This is what makes the dough rise and gives the bread its airy texture.
Gluten Development
Kneading the dough helps develop gluten, which gives bread its structure. The more you knead, the stronger the gluten bonds become, allowing the dough to rise and hold its shape during baking. For a softer bread, try kneading for a shorter time, but for a chewier texture, knead longer.
Rising and Resting
Letting the dough rise, also known as proofing, is essential for achieving a light and fluffy loaf. Proofing allows the yeast to ferment and produce carbon dioxide, which makes the dough expand. After kneading, the dough should be left to rise until it has doubled in size. This can take anywhere from 1 to 2 hours, depending on the temperature and humidity in your kitchen.
If you’re looking for more insight into bread-making, consider this ultimate guide to 3-ingredient bread for a simpler approach to homemade bread.
Step-by-Step Honey Bread Recipe
Now that we’ve covered the science, let’s dive into the recipe itself. Follow these steps for a perfect loaf of honey bread.
Ingredients:
- 1 ¾ cups warm water (100-110°F)
- ¼ cup honey
- 1 tablespoon active dry yeast
- ¼ cup melted butter
- 1 egg, beaten
- 2 ½ teaspoons salt
- 5 ½ – 6 cups bread flour
Instructions:
- Proof the Yeast
In a large bowl, combine warm water and honey. Stir until the honey is fully dissolved. Sprinkle in the active dry yeast and let it sit for 10 minutes. The yeast should start to bubble and foam, indicating that it is active. - Mix the Wet Ingredients
Once the yeast is proofed, add the melted butter, beaten egg, and salt. Stir the mixture until all ingredients are well combined. - Incorporate the Flour
Gradually add the bread flour, one cup at a time. Stir between each addition until the dough begins to come together. Once the dough is too thick to stir, turn it out onto a floured surface. - Knead the Dough
Knead the dough for 7-10 minutes, until it becomes smooth and elastic. This step is essential for developing gluten, which gives the bread its chewy texture. If you prefer a slightly softer crumb, reduce the kneading time by a few minutes. - First Rise
Place the dough in a greased bowl and cover with a clean kitchen towel or plastic wrap. Let it rise in a warm place for 1 hour or until the dough has doubled in size. - Shape the Dough
After the first rise, punch down the dough to release the air. Divide the dough in half and shape each half into a loaf. Place the loaves in greased loaf pans. - Second Rise
Cover the loaf pans with a towel and let the dough rise for another 30-40 minutes. The dough should rise to about ½ inch above the rim of the pans. - Bake the Bread
Preheat your oven to 350°F. Bake the loaves for 29-32 minutes, or until the tops are golden brown and the bread sounds hollow when tapped. - Cool and Enjoy
Remove the loaves from the pans and let them cool on a wire rack. Brush the tops with melted butter for a shiny, soft crust. Let the bread cool completely before slicing.
If you love baking, try making a sweet treat like this perfect red velvet cake with Oreo cookies for your next project.
Variations of Honey Bread
While the basic honey bread recipe is fantastic on its own, there are plenty of ways to customize it to suit your taste.
1. Whole Wheat Honey Bread
Replace half of the bread flour with whole wheat flour for a healthier, nuttier option. Whole wheat flour will add more texture and flavor to your bread, and it’s a great way to add fiber to your diet.
2. Honey Oat Bread
Add ½ cup of rolled oats to the dough for a heartier texture. You can also sprinkle oats on top of the loaf before baking for a rustic look.
3. Cinnamon Swirl Honey Bread
For a sweet treat, roll the dough out flat, sprinkle with a mixture of cinnamon and sugar, and then roll it back up before baking. This creates a delicious cinnamon swirl inside the loaf.
Tips for Perfect Honey Bread
Here are a few tips to ensure that your honey bread comes out perfect every time:
- Prevent sticking: Lightly oil your hands and the work surface to prevent the dough from sticking.
- Control flour usage: Be cautious not to add too much flour. The dough should be soft and only slightly sticky.
- Knead thoroughly: Kneading is essential for gluten development, so don’t rush this step.
- Monitor the temperature: Ensure your water is warm enough to activate the yeast but not too hot to kill it.
- Check for doneness: The bread is done when the internal temperature reaches 190-200°F.
Storing Honey Bread
To keep your honey bread fresh, follow these storage tips:
- Room Temperature: Store in an airtight container at room temperature for up to 4 days. Avoid refrigerating the bread as it can dry out.
- Freezing: To freeze, wrap the bread in plastic wrap and then aluminum foil. It can be frozen for up to 2 months. To thaw, let it sit at room temperature or in the refrigerator overnight.
How to Serve Honey Bread
Honey bread can be served in various ways, making it a versatile addition to any meal:
- For Breakfast: Toast slices of honey bread and serve with butter and honey or jam.
- For Sandwiches: Its soft texture makes it ideal for sandwiches, whether sweet or savory.
- As a Side: Serve honey bread alongside soups, stews, or salads for a comforting meal.
- For Snacks: A simple slice of honey bread with butter or on its own makes for a delicious snack.
Frequently Asked Questions (FAQs)
1. Can I use sugar instead of honey in this recipe?
Yes, you can substitute honey with sugar, but it will slightly alter the texture and moisture content. If you use sugar, reduce the amount of flour by about ½ cup.
2. What is the difference between active dry yeast and instant yeast?
Active dry yeast requires proofing (activating in warm water), while instant yeast can be mixed directly with dry ingredients. Both work well, but active dry yeast tends to provide a more controlled rise.
3. Why is my bread dense?
A dense loaf is often the result of under-kneading or using too much flour. Make sure to knead the dough properly and avoid over-flouring the dough during the mixing process.
Conclusion
Making homemade honey bread is not only a rewarding experience but also a delicious addition to your home-cooked meals. With its sweet flavor and soft texture, this bread can be enjoyed in many ways, from sandwiches to simple slices with butter. By following this guide and experimenting with variations, you’ll quickly discover how versatile and satisfying honey bread can be.
For more ideas on what to pair with your honey bread, consider baking some delicious sides like this savory sausage cream cheese crescent roll recipe.
Happy baking!

